
Photography Best Practices
It’s no secret that consumers are shopping online. In fact, during an April 2017 survey, 40 percent of internet users in the United States stated that they purchased items online at several times per month, and 20 percent said they bought items or services online on a weekly basis, according to Statista.com.
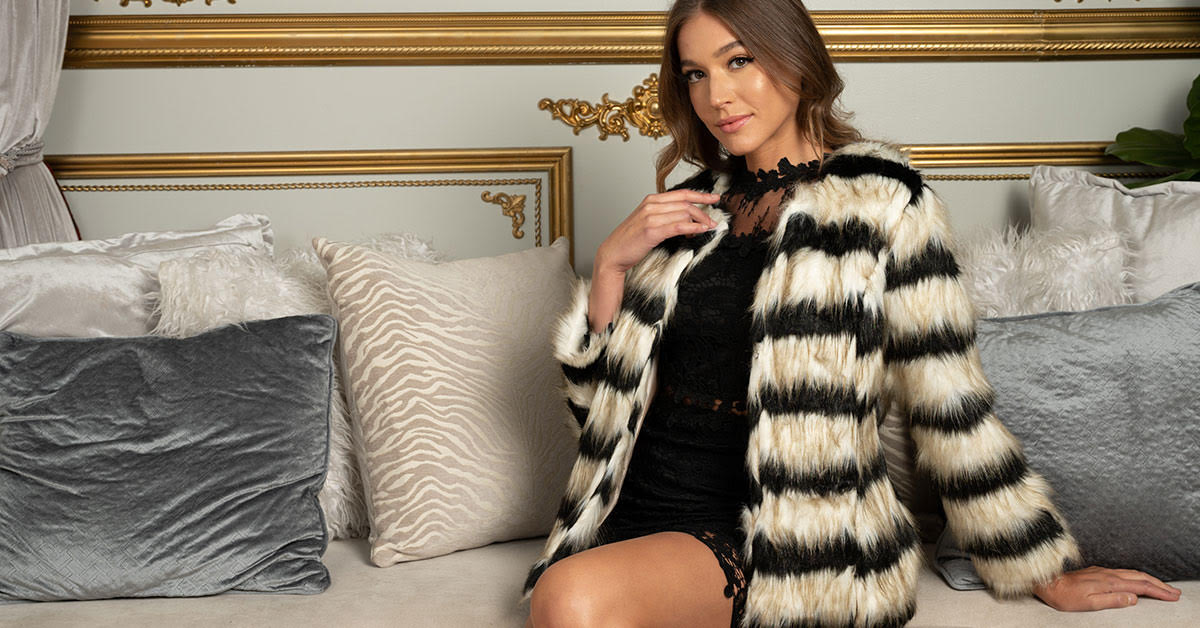
Whether you have an online-only boutique or just like to tantalize your customers with new products through your Instagram and Facebook feeds, fantastic product photography is an easy way to show off your inventory and win shoppers.
Do you plan to hire a freelance photographer? Or would you like to try your hand at snapping shots? No matter what you choose, you can share or use these 5 tips to bring your products to life — on your social media channels, in print catalogues and on your web store.
1. Trust the Professionals
Okay, our first tip is to hire a professional to take gorgeous photos of your products. Simply put, it’s worth it to shell out the money for high-quality, edited photos you can use across multiple mediums. Collaborating with a pro will save you a ton of time, and after all, time is money!
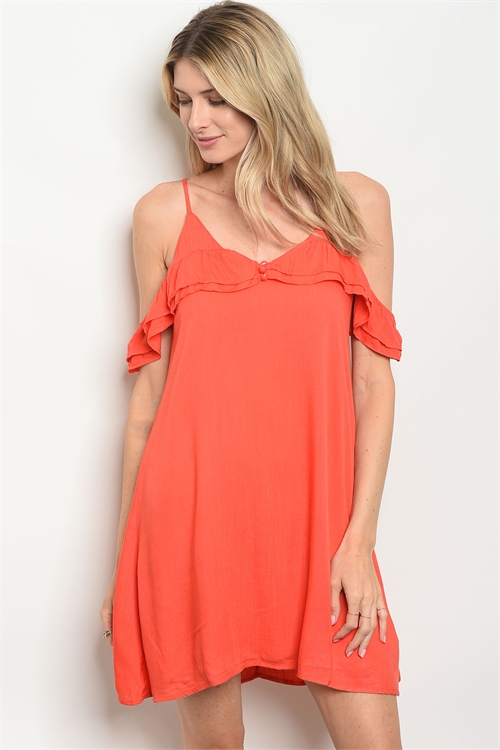
If you do hire a freelance photographer, share your vision and inspiration with them before the shoot. You’ll want to discuss where those photos will end up and your overall brand story. For example, imagine most of the product shots on your the homepage of your online store are simple, clean, white and minimalist. If you add a product shot with a pastel background and an array of props, this photo will stick out. It’s not that the photo is necessarily bad — it just doesn’t fit with your site’s current branding.
If your product shots for your online store look one way (clean and minimalist) , it doesn’t mean that the photos you share on social media need to look the same! Online store photography should showcase the product clearly, while Instagram shots should grab a scroller’s attention to make them stop for a closer look.
2. Lighting Is Your Best Friend
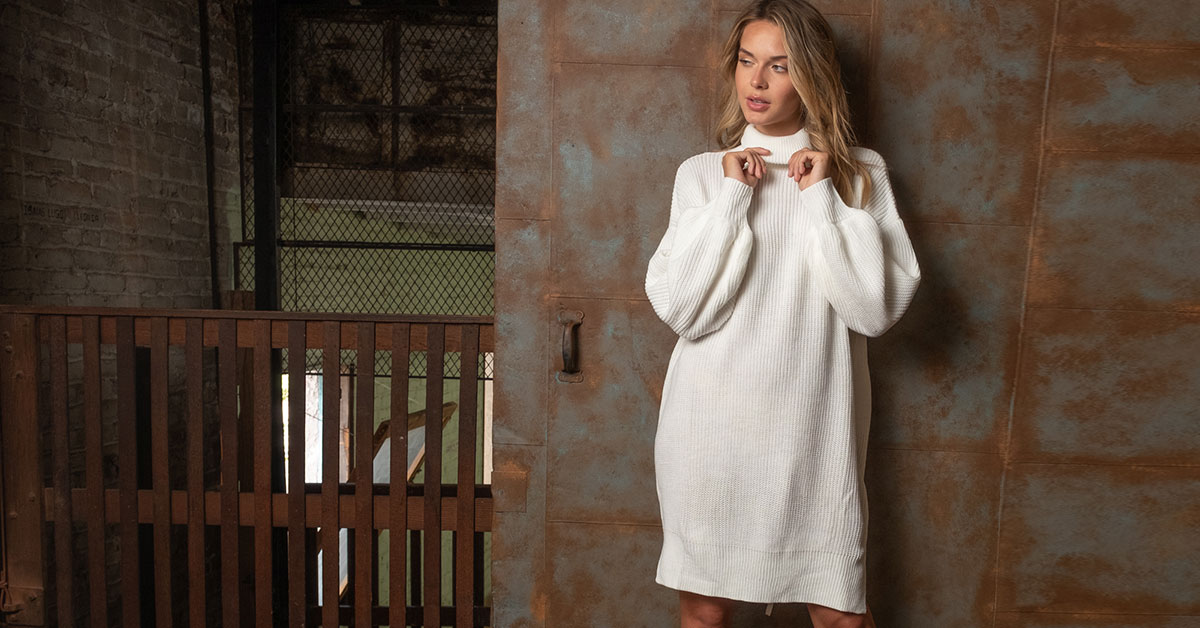
A critical component to product photography — and most types of shots for that matter — is lighting. Generally, you want to try to evenly light the item from all directions. Shadows can be nice if you’re going for a dramatic feel, but otherwise, they make it harder to clearly see the subject.
If you’ve got limited experience, time and resources and don’t have an extravagant lighting setup, try photographing your products flat with natural light. Natural light is harder to control and manipulate but you can still yield a striking finished product.
3. Get to Know Your Camera and Its Settings
Whether you’re using your iPhone or a professional DSLR camera, you’re going to want a tripod to stabilize your shots. Say it with us: tripod! Tripods are cheap and easy to find online, in big stores like Walmart and Target, or in electronics or photography shops.
As far as the camera itself goes, depth of field is important. Depth of field is simply how much of the image is in focus. A higher or deeper depth of field is usually more preferable for product photography, as it will lead to more of the item being in focus. A lower, or more shallow depth of field can be used if just trying to highlight a single part of the item, like a button on a cardigan or a gemstone in a necklace.
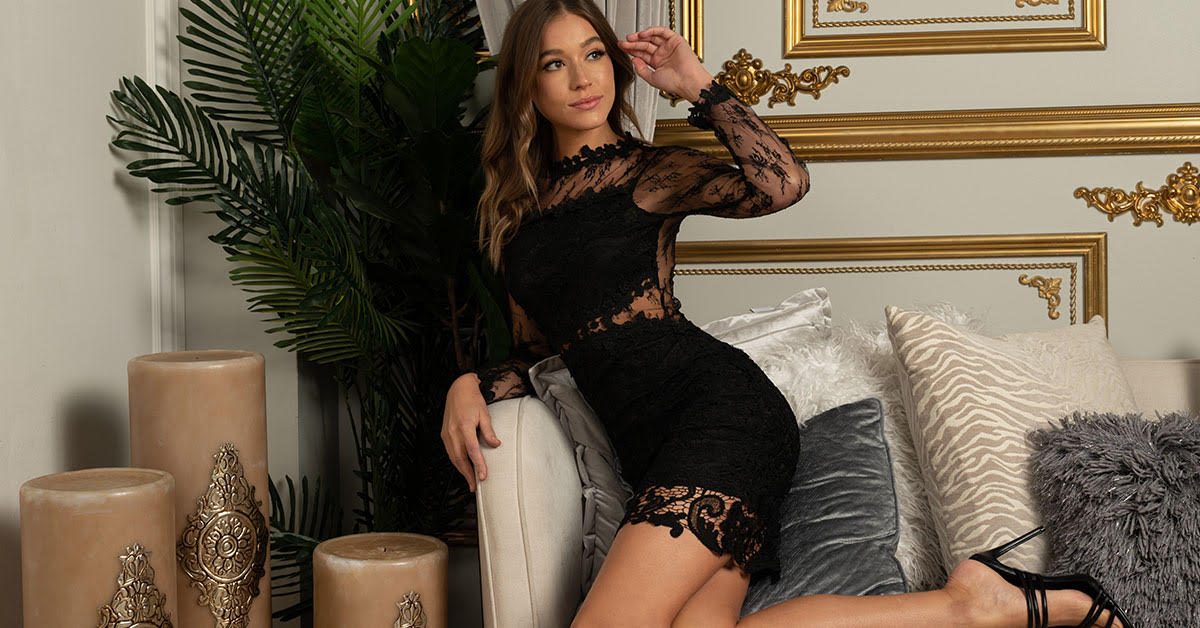
4. Plan Your Staging
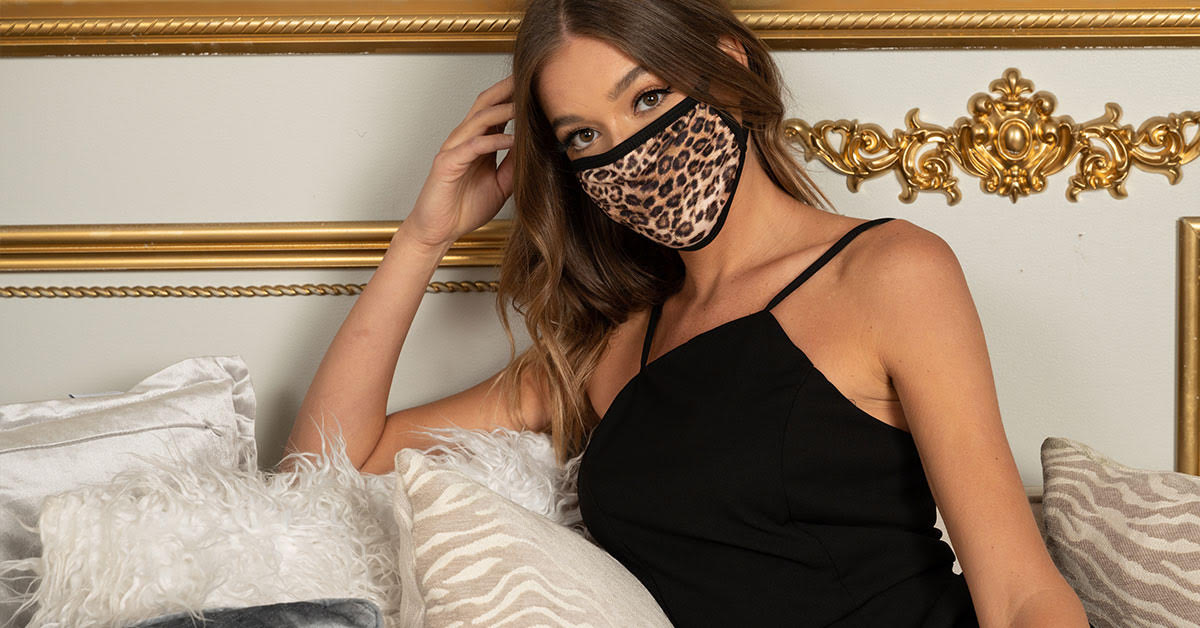
For the product itself, how you set up your shot is important. Your setup includes backdrop, how the product is placed, framing, lighting and props. Look to other retailers whose photography you enjoy. What do they use a backdrop? Do they use relevant props to set a scene for their products? Do they light the product in all directions or use shadows to create a moody vibe? Do they shoot mostly flat shots overhead, on a model or on a mannequin? Answering these questions before you touch your staging area will help you tremendously.
The way you stage your shots depend on what you want in the end product, but shooting an item with additional decorative surroundings can make the item look more natural and give it context for use. If you’re shooting white athletic sneakers, placing neon-hued tennis balls next to the pair can create an eye- catching visual contrast. A striped bikini might be more attractive to your shopper if its lying in sand next to seashells instead of on a hanger, against a white background.
Have you taken your own product shots? Do you share them on social media? We want to know in the comments below!

No Comments